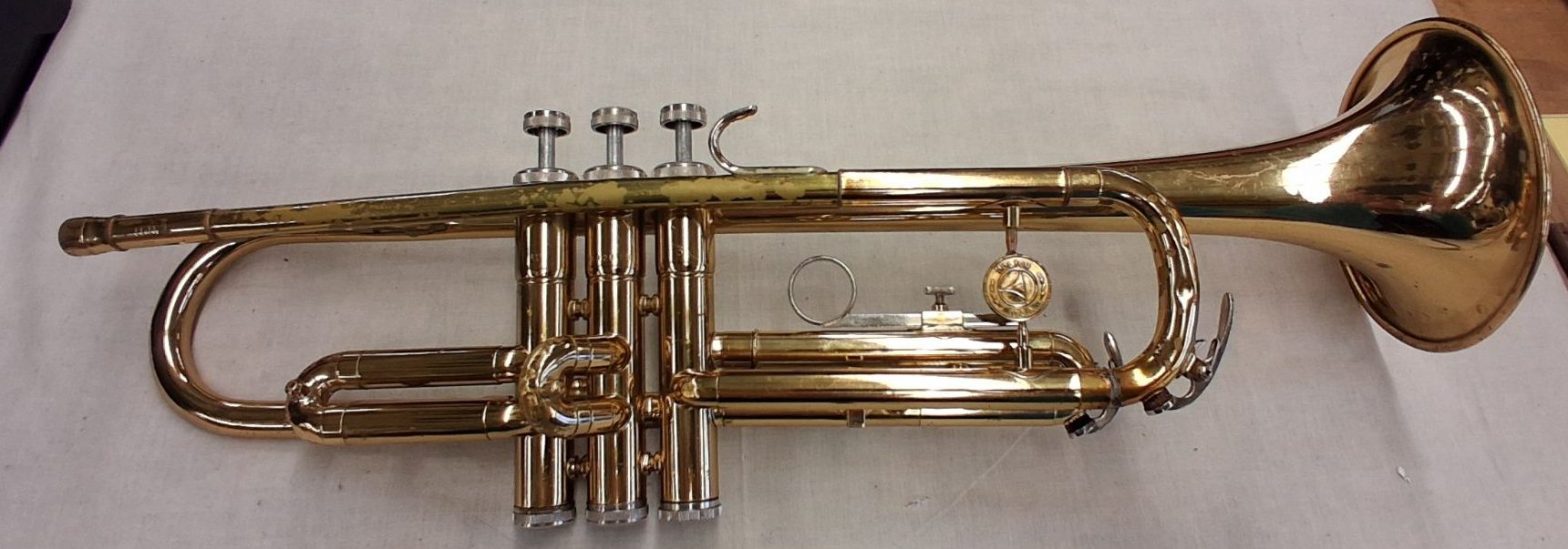
We have spent a great deal of time on the fundamentals of brass instrument repair: soldering, heat control, dent work, identifying materials, & so much more! Now it is time we apply what we have learned to a customer’s horn.
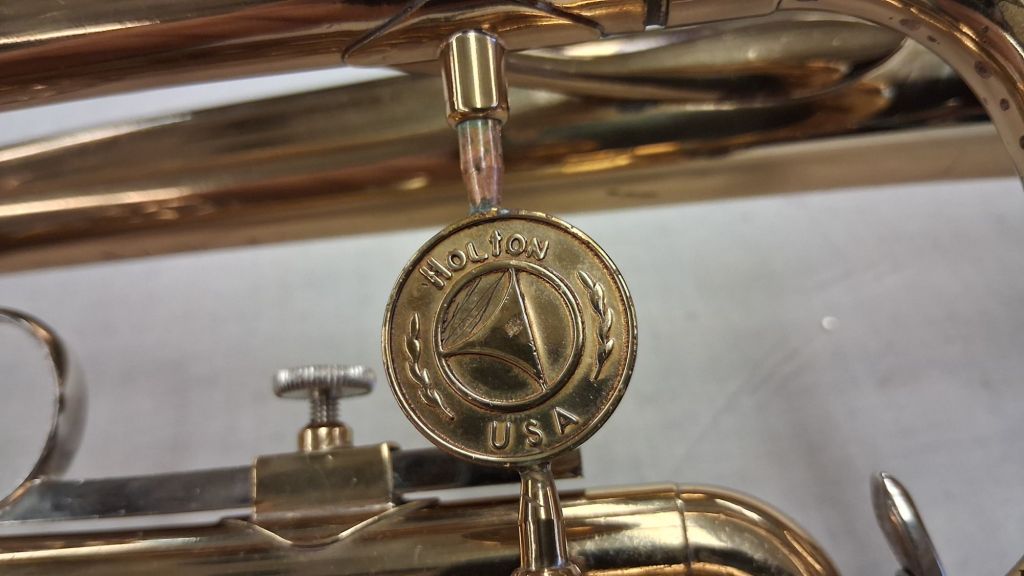
The first horn I’ve overhauled on this career path was an old Holton T602R. A beautiful student horn that has certainly seen it’s good deal of use. This was a real piece of work when I got it: broken solder joints, slide bends & pings, a borderline useless mouthpipe, the list goes on. This was a well-loved horn before it came across my bench & I believe all instruments are beautiful, even if they’ve been put through the wringer. This will go to a young musician just starting their musical journey, so the work done here is extremely important!
Click on these images to inspect:
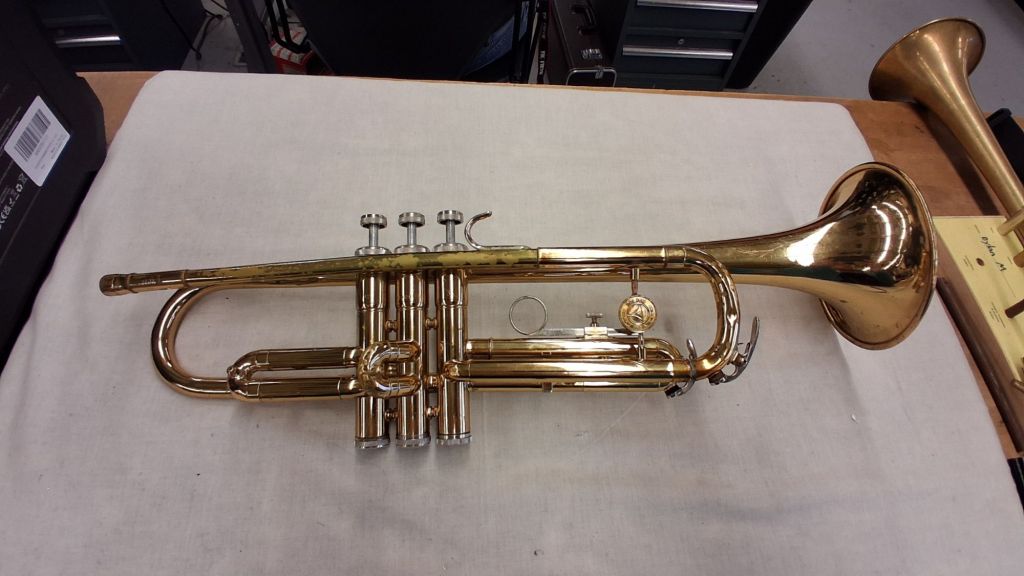
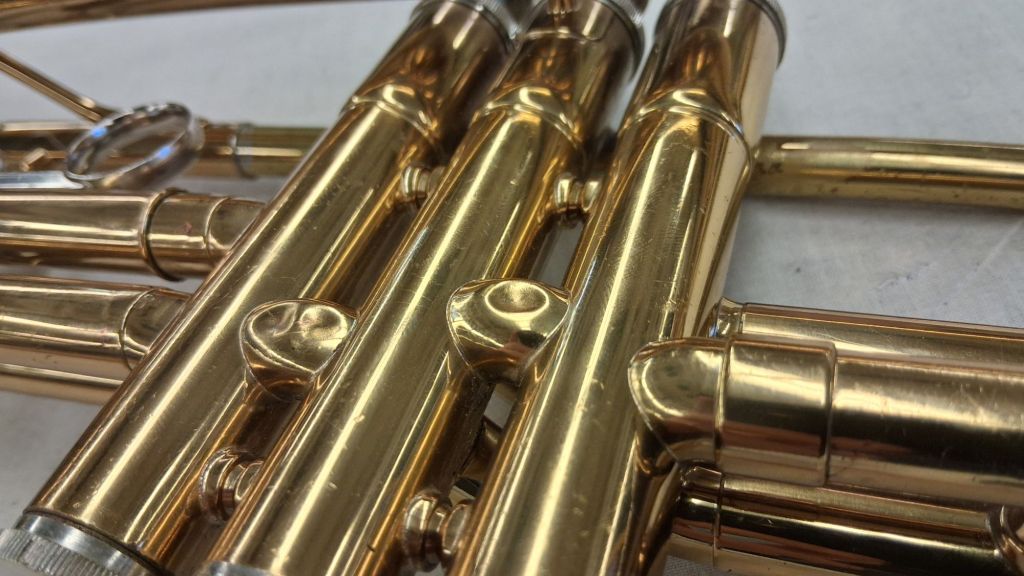
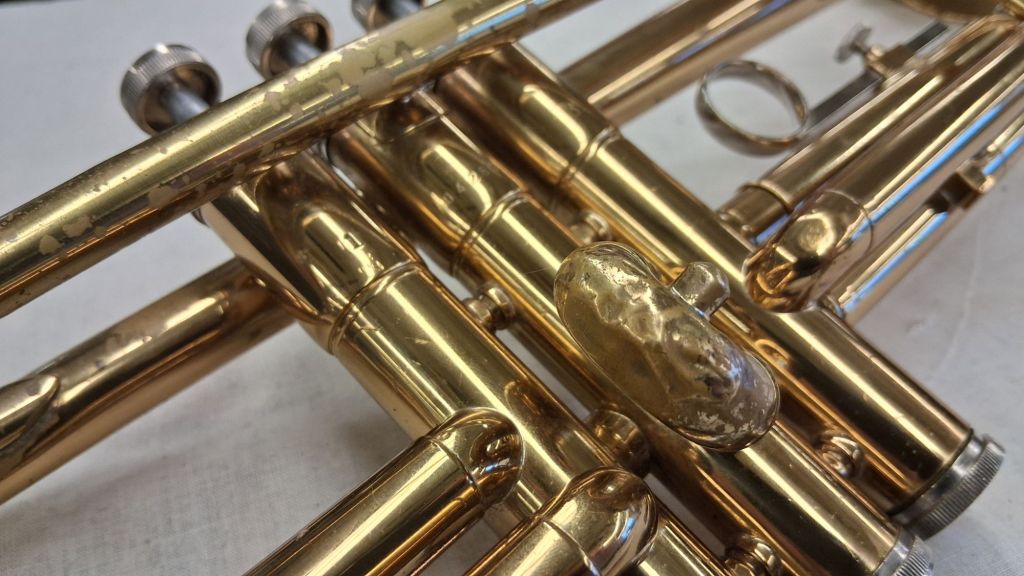
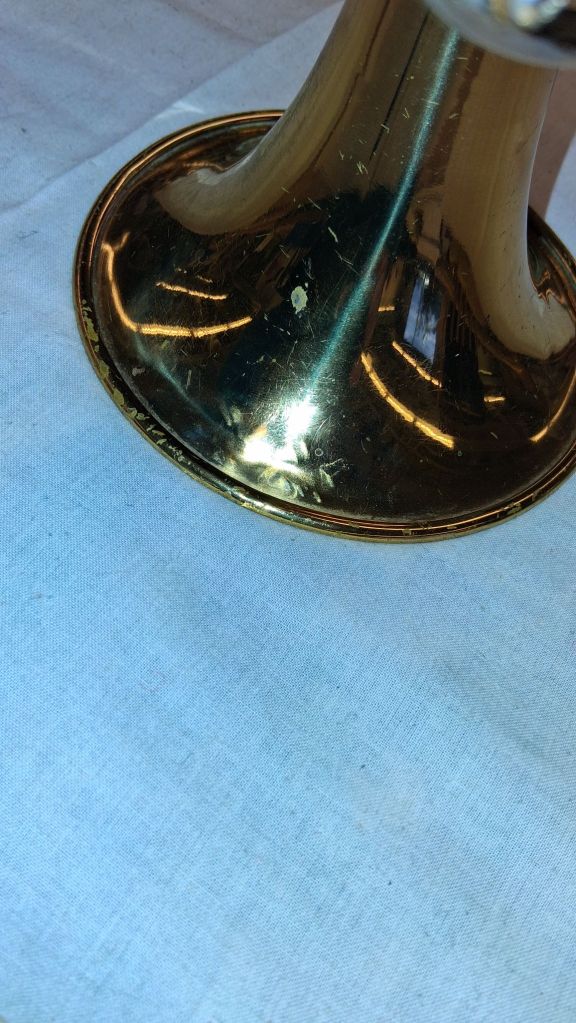
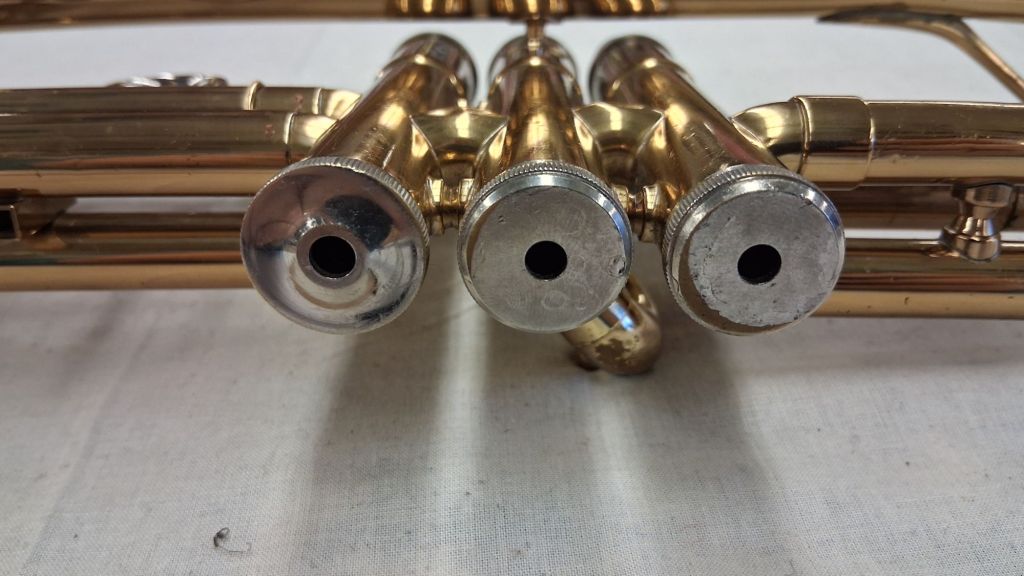
When presented with such an immense project, it can be daunting. “Where do I even start with something like this?”
Disassembly
The first place to start is disassembly so we can get a full scope of the scenario. We can use this time to inspect the inner tubes of the slides as well as the valve assemblies. Inspect every part of the horn, down to the valve guides & tube fit. Test for leaks and ensure there isn’t need for patchwork or even replacing entire components.
If a slide is stuck, you can use various methods to get them unstuck, but be careful as not all methods are compatible with all slides!
- Penetrating Oil & heat spread over the tube.
- A crook mold & knocking tool with a rawhide mallet.
- Wicking thread & a vice (2nd trumpet slides only, very dangerous).
- The usage of an ultrasonic machine may loosen dirt between tubes.
If the top or bottom valve caps are stuck, you can get them unstuck in a few varying ways. You can:
- Use your rawhide mallet & do glancing blows in 4 directions (+).
- Penetrating oil & time (often referred to as: “set and forget”),
- A bit of heat (don’t burn the lacquer!).
- Soft-jawed pliers (possibly with wicking thread).
If they are quite stuck, it is possible you will have to enlist multiple solutions at once. When working with heat, even if you don’t believe you were heating something for that long, remember: Everything is always hot!
Cleaning
Sometimes the parts do fit properly and they just need to be ridden of the dirt and grime from weeks/months/years of young/old musicians. All that just to instill another lesson that you must learn but can’t be taught: You can never assume you know where an instrument came from or where it may go next! Treat every project with the same high level of respect.
Early in your career, you will likely get put on the rental fleet if you work at a shop that does rentals. A majority of those rental trumpets, regardless of brand, will need the same two or three repairs done: a cleaning, a stuck slide, or dent work. Do not allow your standard to fall simply due to redundancy.
New Main Tuning Slide Brace
For this specific project, I had to create a new brace while maintaining the same flourish from the pre-overhaul (the medallion on the main tuning slide). I marked the center of the medallion, then used a small triangular file to start the notch. Once that was established, I switched over to the small round file & continued to file, checking every now and then to see it was still proper. Luckily, this went perfectly on the first try, which was good because there was only one part at the school!
Dent work
Regardless of which task you tackle after the cleaning, as long as you remember to do the cleaning first every time (unless they aren’t paying for a scrub), it does not matter the order of much of the work done.
As I’m sure you recall from the photographs, this one needed some real attention. The second slide was quite chewed up and the knuckles are pretty rough. These can be taken out with the same type of tool; although, I do prefer a steeper angle for addressing the knuckles (the 90° dent rod, specifically), they come from the same tool family.
Matching the Bottom Caps
Since we are overhauling the instrument, the price can get pretty high. It is usually in the better interest of the shop as well as the customer to find used, good-looking parts before resorting to a brand-new replacement. It always depends on what the customer decides, but if you are unsure, it pays to be on the side of caution. The used part should match in ALL aspects though! It is not good enough if it goes on the threads.
This was also a chance to catch any threadwork that may have been neglected so far. Much of the work that was done here was outlined in the previous dent work post, so make sure you go back & check that out if you missed it!
Don’t forget to subscribe, it’s free!

